Introduction
Speaker Function and Safety Procedure
This repair may be required when the laptop produces no audio output through the built-in speakers. No advanced technical skills are required for this repair.
- Verify that the audio output is coming from the external speakers.
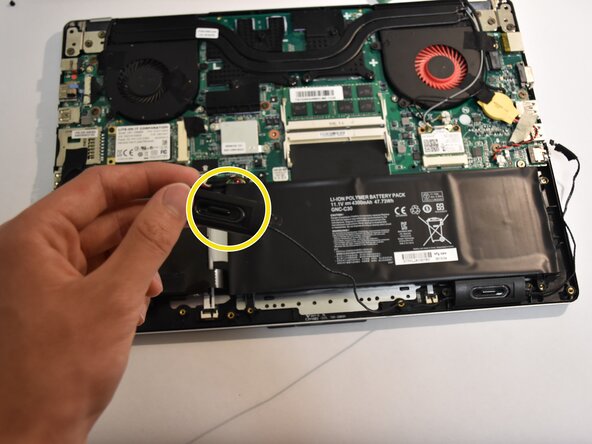
- If no sound is heard, check that the speaker is connected.
- If connections are secure and the issue persists, replace the speakers.
- Before performing any maintenance, ensure you are properly grounded.
- To ground yourself, touch a metal object that is in direct contact with the floor for several seconds to discharge static electricity.
What you need
-
-
Remove all 15 marked screws from the underside of the laptop using a Phillips #0 screwdriver.
-
x1 9.8mm Screw
-
x8 5.6mm Screws
-
x6 5.0mm Screws
-
-


Conclusion
To reassemble your device, follow these instructions in reverse order.
Team

Cal Poly, Team 8-1, Regan Spring 2015 Member of Cal Poly, Team 8-1, Regan Spring 2015
CPSU-REGAN-S15S8G1
5 Members
12 Guides authored