Introduction
Get out your 90s DSLRs, the "vintage" photography look is in!
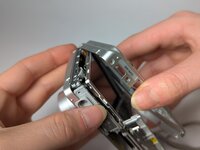
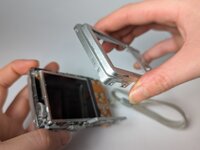
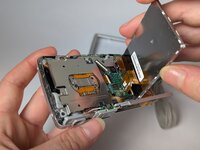
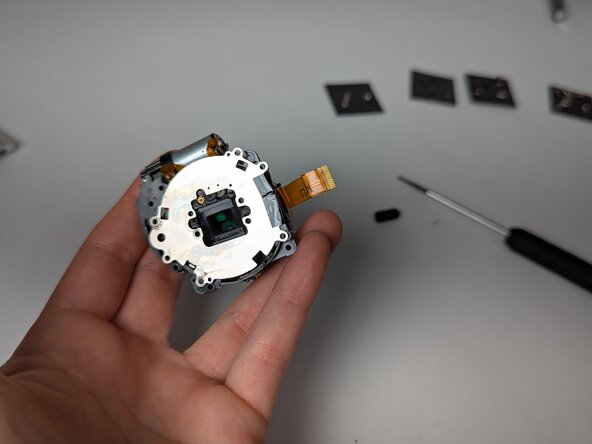
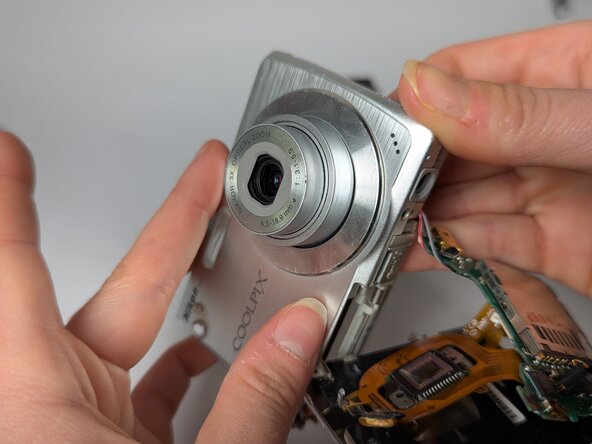
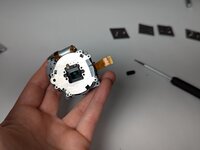
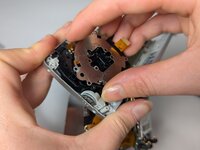
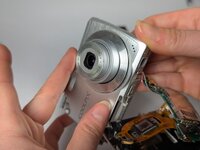
Use this guide to remove and replace the malfunctioning or broken lens on your Nikon Coolpix S200.
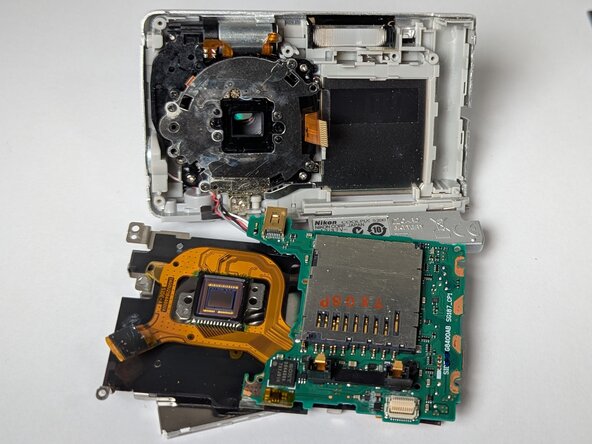
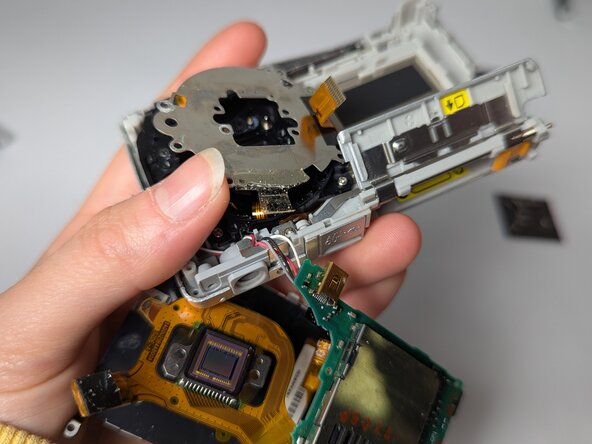
Your lens may need to be replaced after the years due to natural wear and tear of age. A common issue of these small cameras is a stuck lens, due to moisture and dust entry. This issue can lead to further damage to the internal camera system.
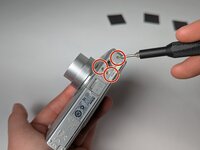
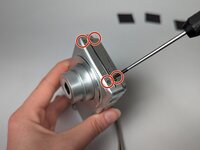
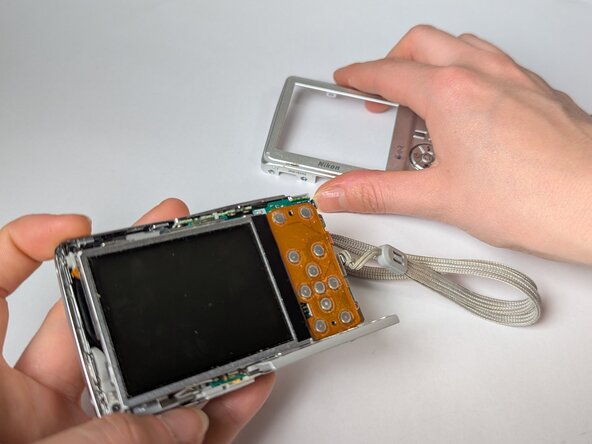
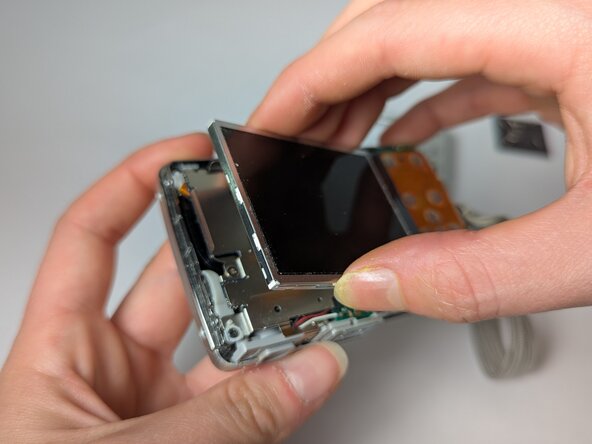
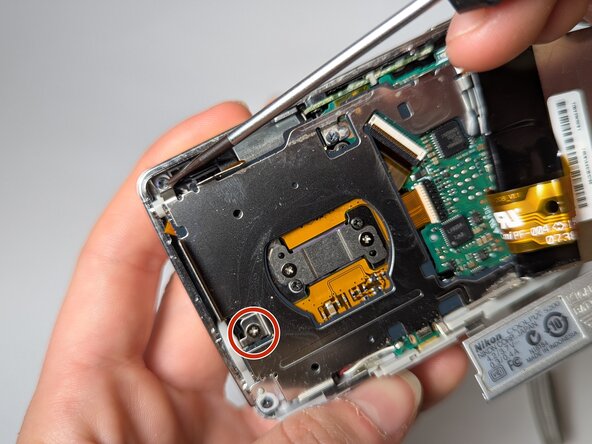
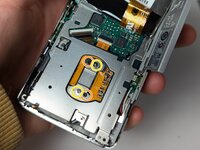
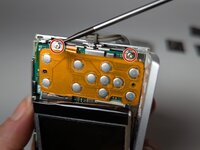
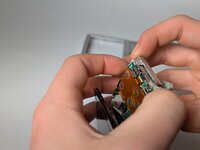
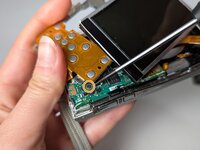
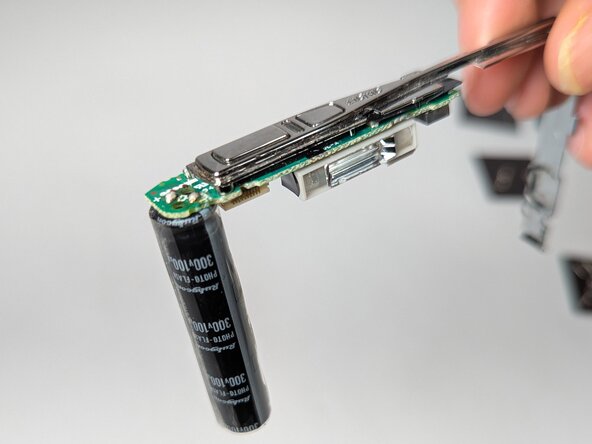
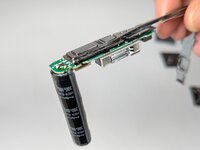
In Step 9, you will be handling the camera's cylinder-charged part. Be cautious of minor electrocution when disassembling the internal camera system. To avoid the risk of electrocution, wear a latex or rubber glove during this process. Throughout this guide you'll be handling tiny screws: we highly suggest using magnet strips for easy organization.
What you need
-
-
Push the power button to activate the camera's power and lens.
-
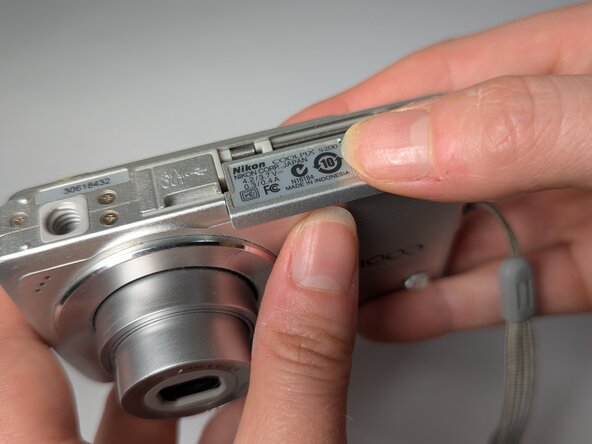
Rotate the camera so the bottom is facing up and the battery case is facing you.
-
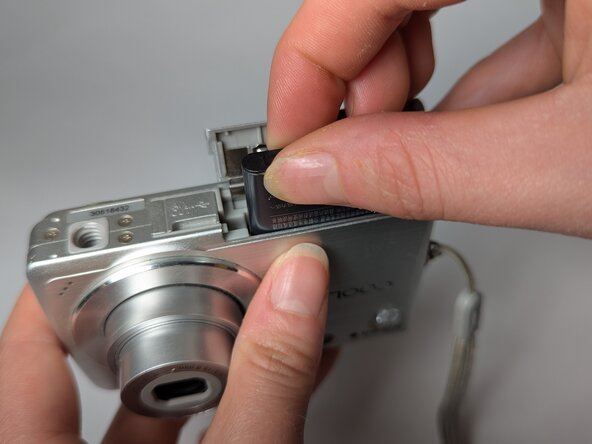
Slide open the battery case, moving it towards the lens.
-
-


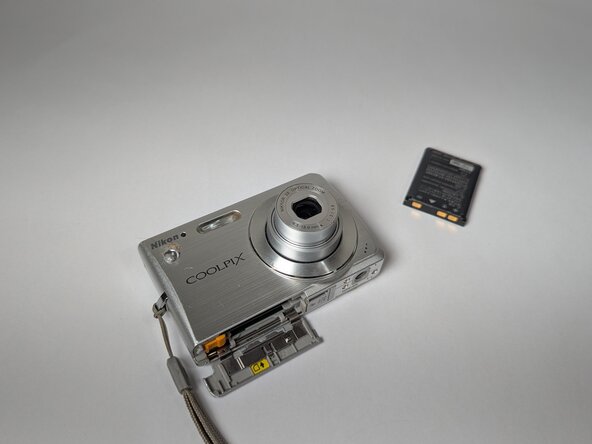


To reassemble your device, follow these instructions in reverse order.

Team

UC Davis, Team 1-4, Andersen Winter 2025 Member of UC Davis, Team 1-4, Andersen Winter 2025
UCD-ANDERSEN-W25S1G4
3 Members
1 Guide authored