Introduction
If your Razer Basilisk V3 gaming mouse is no longer responding, showing connection issues, or has suffered liquid or electrical damage, the motherboard may need to be replaced. This guide will walk you through removing and replacing the internal motherboard so you can bring your mouse back to working as intended.
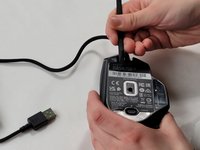
Before starting, unplug the mouse and work on a clean, static-free surface. This repair requires patience and careful handling of small connectors, as well as identifying and detaching ribbon cables without tearing them. Try to get comfortable using precision screwdrivers and prying tools to avoid damaging any components.
Why perform this repair:
- The mouse does not power on or connect via USB
- There is physical damage/burnt components on the motherboard
Warnings:
- Always discharge static before touching internal components
- Be careful when prying clips as they can break easily
What you need
-
-
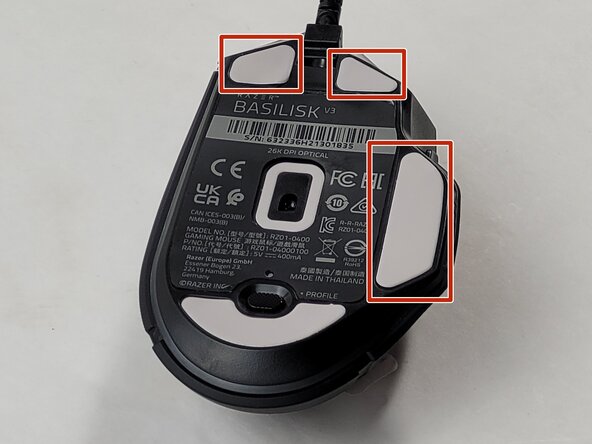
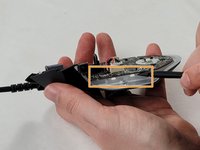
Remove two 4.8 mm screws that were hidden under the front skates using a JIS #1 screwdriver.
-
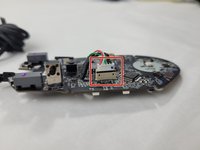
Remove the single 4 mm screw beneath the thumb grip using a JIS #1 screwdriver.
-
-
-
-
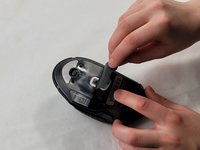
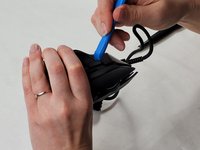
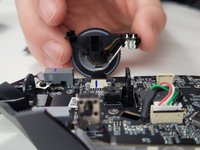
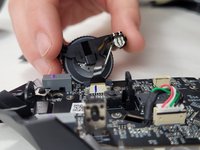
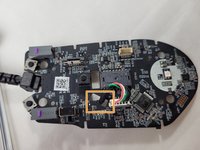
Use the flat end of the spudger to pop-out the scroll wheel assembly.
-
-
-
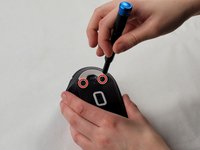
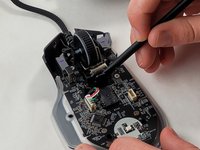
Remove the six 4 mm screws using a JIS #0 screwdriver.
-
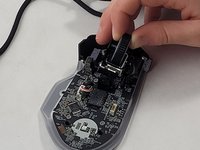
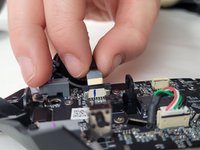
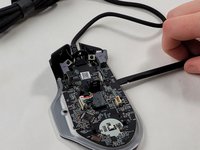
Insert the flat end of a spudger in the gap between the motherboard and the rest of the mouse.
-
Slowly pry up the edge of the board, moving around the mouse slowly in a counterclockwise direction.
-


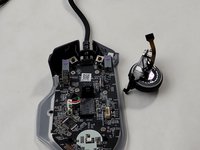


To reassemble your device, follow these instructions in reverse order.

Team

UMass Dartmouth, Team 1-2, Santin Spring 2024 Member of UMass Dartmouth, Team 1-2, Santin Spring 2024
UMASSD-SANTIN-S24S1G2
3 Members
16 Guides authored