Introduction
If the top and bottom rings for the Rienok S1 Mini are damaged, or you need to access the inside of the speaker, use this guide to remove and/or replace those rings.
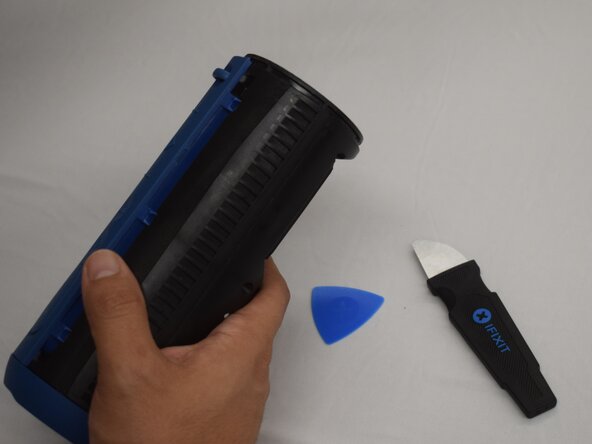
The main purpose of these rings is to keep all the parts together and provide a safe resting surface to protect the waterproofing covers at the ends.
Before beginning, power the device down to prevent any shorts.
What you need
-
-
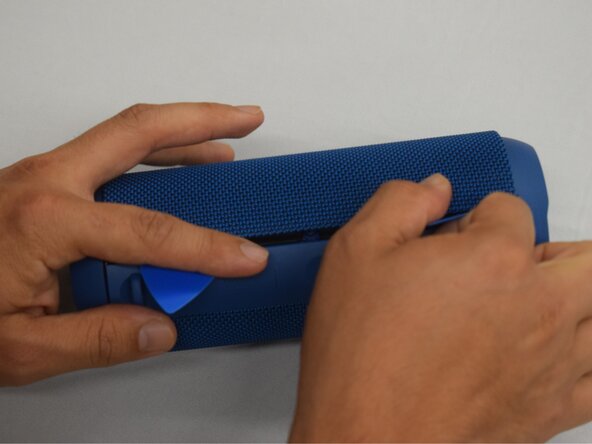
Start with the buttons panel up and facing you.
-
Wedge in one iFixit opening pick, and apply outward pressure to pop out one side of the grille.
-
Using a second pick, slide from the first pick towards the opposite end until one whole side is popped out.
-
-
-
-
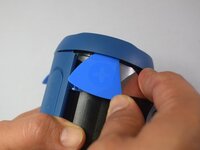
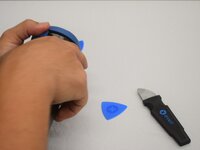
Wedge an iFixit opening pick into the space between the ring and the housing.
-
Insert a Jimmy into the gap created.
-
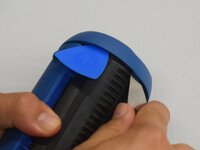
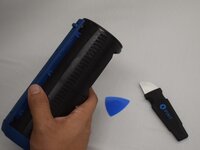
Apply an out-and-upward pressure with the Jimmy to disconnect the plastic clips surrounding the ring.
-
Work the Jimmy around the ring, disconnecting the clips along the way until they are all disconnected.
-


To reassemble your device, follow these instructions in reverse order.

Team

CSU Los Angeles, Team 7-1, Kershman Spring 2025 Member of CSU Los Angeles, Team 7-1, Kershman Spring 2025
CSULA-KERSHMAN-S25S7G1
5 Members
9 Guides authored