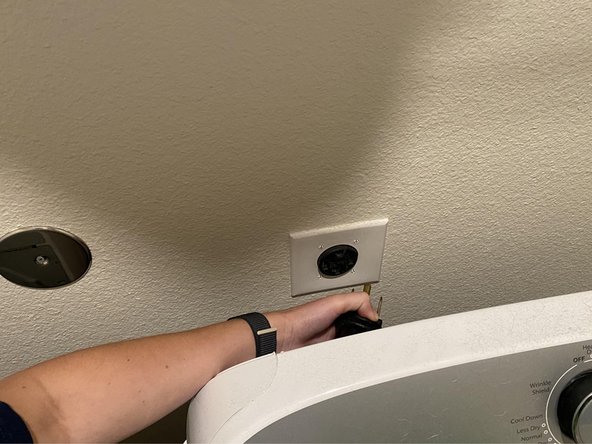
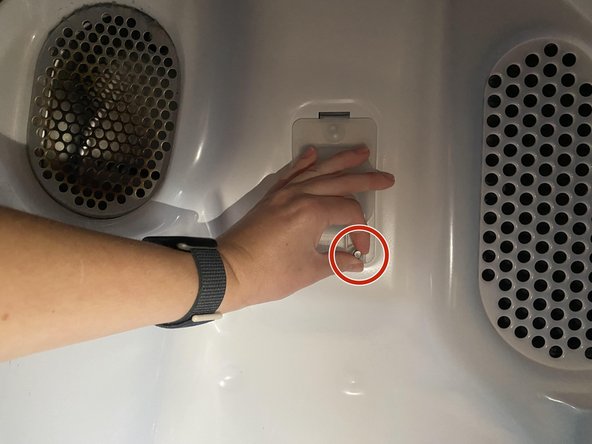
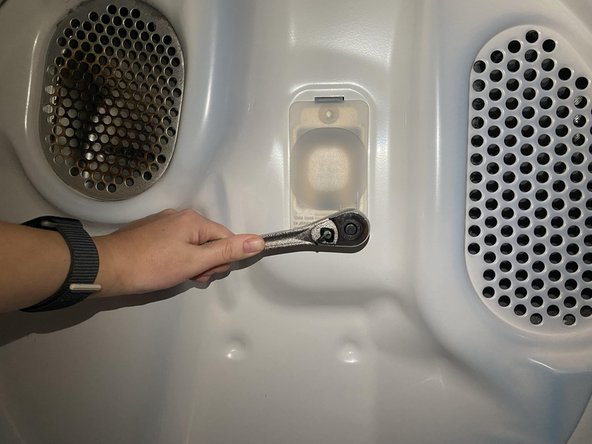
Free shipping on orders over €65*

Whirlpool WED4950HW0 Light Bulb Replacement

What you need

  1. Whirlpool WED4950HW0 Light Bulb Replacement, Light Bulb: step 1, image 1 of 2 Whirlpool WED4950HW0 Light Bulb Replacement, Light Bulb: step 1, image 2 of 2
    • WARNING: Complete this step before continuing to the next to avoid electrocution.

    • Unplug the dryer from the wall outlet.

  2. Whirlpool WED4950HW0 Light Bulb Replacement: step 2, image 1 of 3 Whirlpool WED4950HW0 Light Bulb Replacement: step 2, image 2 of 3 Whirlpool WED4950HW0 Light Bulb Replacement: step 2, image 3 of 3
    • Remove the screw holding on the lens cover with a 1/4" ratchet wrench by turning it counter clockwise.

    • Take the lens cover off.

  3. Whirlpool WED4950HW0 Light Bulb Replacement: step 3, image 1 of 2 Whirlpool WED4950HW0 Light Bulb Replacement: step 3, image 2 of 2
    • Remove the faulty bulb by turning the bulb counter clockwise.

  4. Whirlpool WED4950HW0 Light Bulb Replacement: step 4, image 1 of 1
    • Replace the bulb with a 10W appliance bulb.

    • Ensure it is durable to withstand high temperatures in order to prevent breakage.

    • Turn the bulb clockwise and ensure that it is secure.

  5. Whirlpool WED4950HW0 Light Bulb Replacement: step 5, image 1 of 3 Whirlpool WED4950HW0 Light Bulb Replacement: step 5, image 2 of 3 Whirlpool WED4950HW0 Light Bulb Replacement: step 5, image 3 of 3
    • Place the lens cover back on.

    • Reinsert the screw and use the ratchet wrench to tighten it.

  6. Whirlpool WED4950HW0 Light Bulb Replacement: step 6, image 1 of 1
    • Plug the dryer back in.

  7. Whirlpool WED4950HW0 Light Bulb Replacement: step 7, image 1 of 1
    • Ensure proper operation of the new bulb.

Finish Line

Ciara Schultz

Member since: 05/27/24

145 Reputation

1 Guide authored

0 Guide Comments

Add Comment

View Statistics:

Past 24 Hours: 1

Past 7 Days: 2

Past 30 Days: 11

All Time: 360